10 December 2016
Recently I spent some time gathering all my in-person workshop materials into single GitHub repositories for “Intro to Writing SVG” and “Tuts+ Town: Creating Our First Website” and thought I would share some details on these.
Each workshop has a full and mini version to accommodate different time blocks I have been presented with at schools and Girl Develop It events. The mini versions either eliminate a non-essential section or provide a shortcut, of sorts, in how that section is approached.
I’ll just jump right in to some details about each one, mention where to find all the materials, and include a few bits of advice on conducting workshops in general.
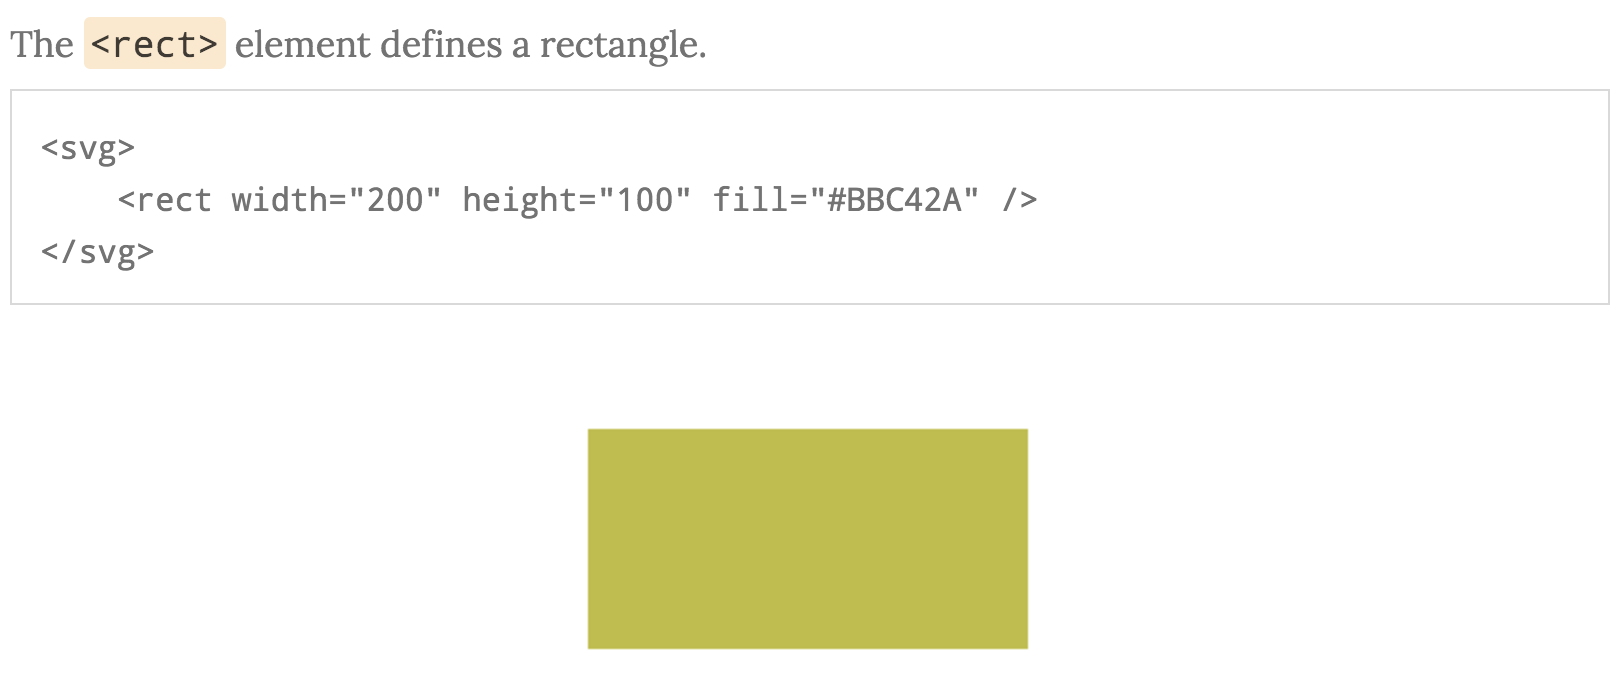
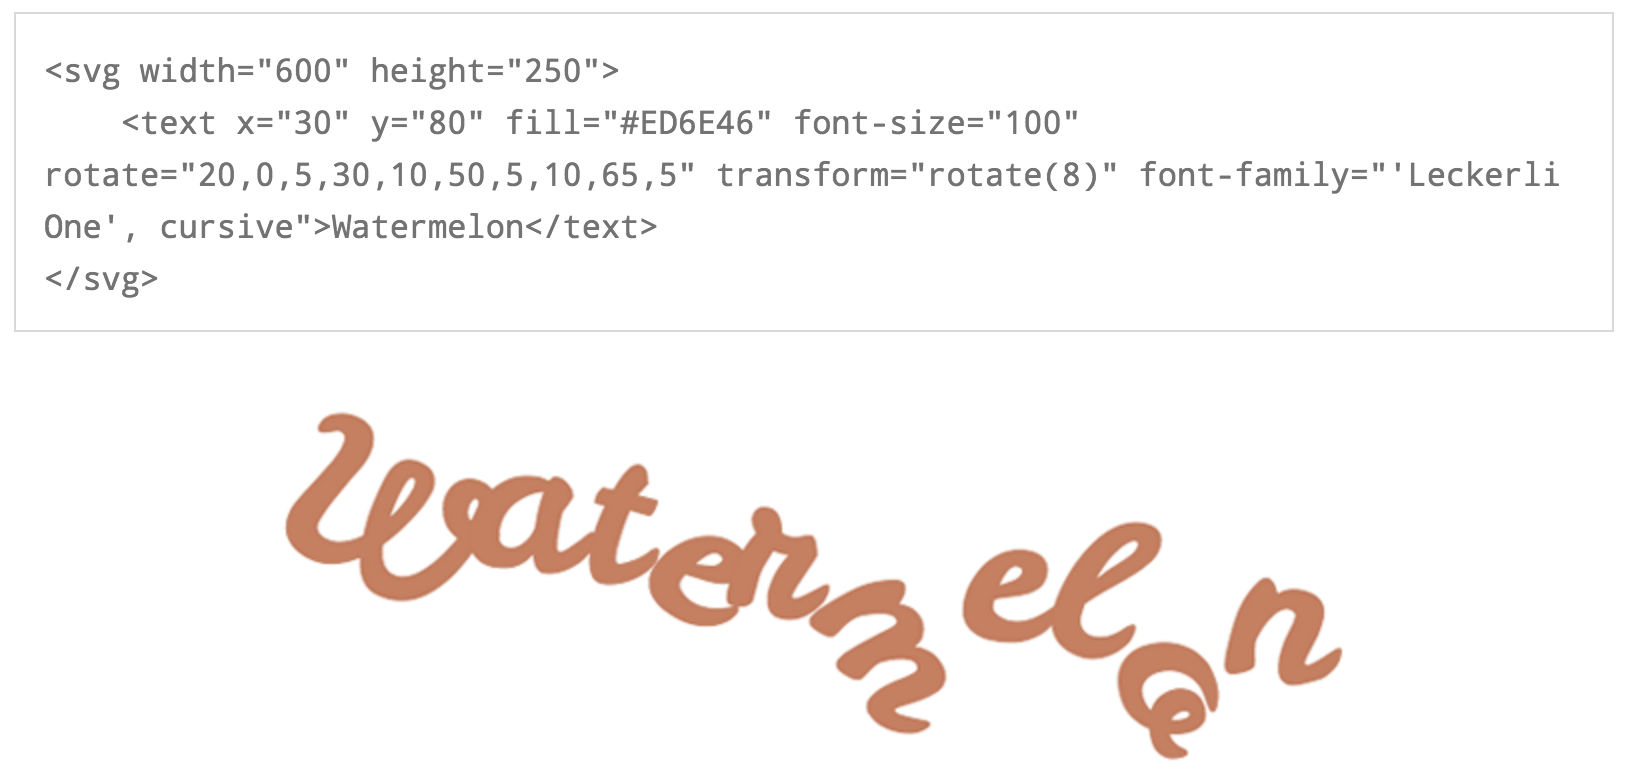
This workshop is based on a book I wrote a couple years ago, Pocket Guide to Writing SVG. It starts by touching on what SVG is and why it’s so important and beneficial to use on the web. The intro is quickly followed with syntax and document structure basics. Students are then able to write and edit graphics in the browser and get started with SVG text.
This was created for beginner adults that have some basic knowledge of HTML/CSS. This version is 2.5 hours long and consists of a presentation with lots of hands-on demos with instructions on CodePen.
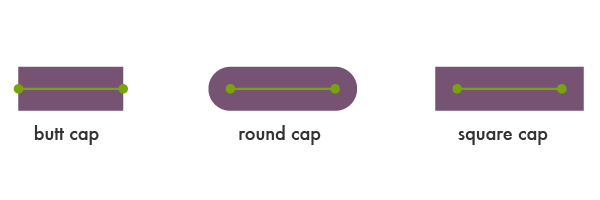
This version is 1 hour long, with the main difference being the elimination of the coordinate system and text sections. Students get started almost immediately with base demos to write basic shapes and edit stroke attributes.

The main goal here becomes piquing interest and leaving students with the resources necessary to further explore this on their own outside of this workshop time.
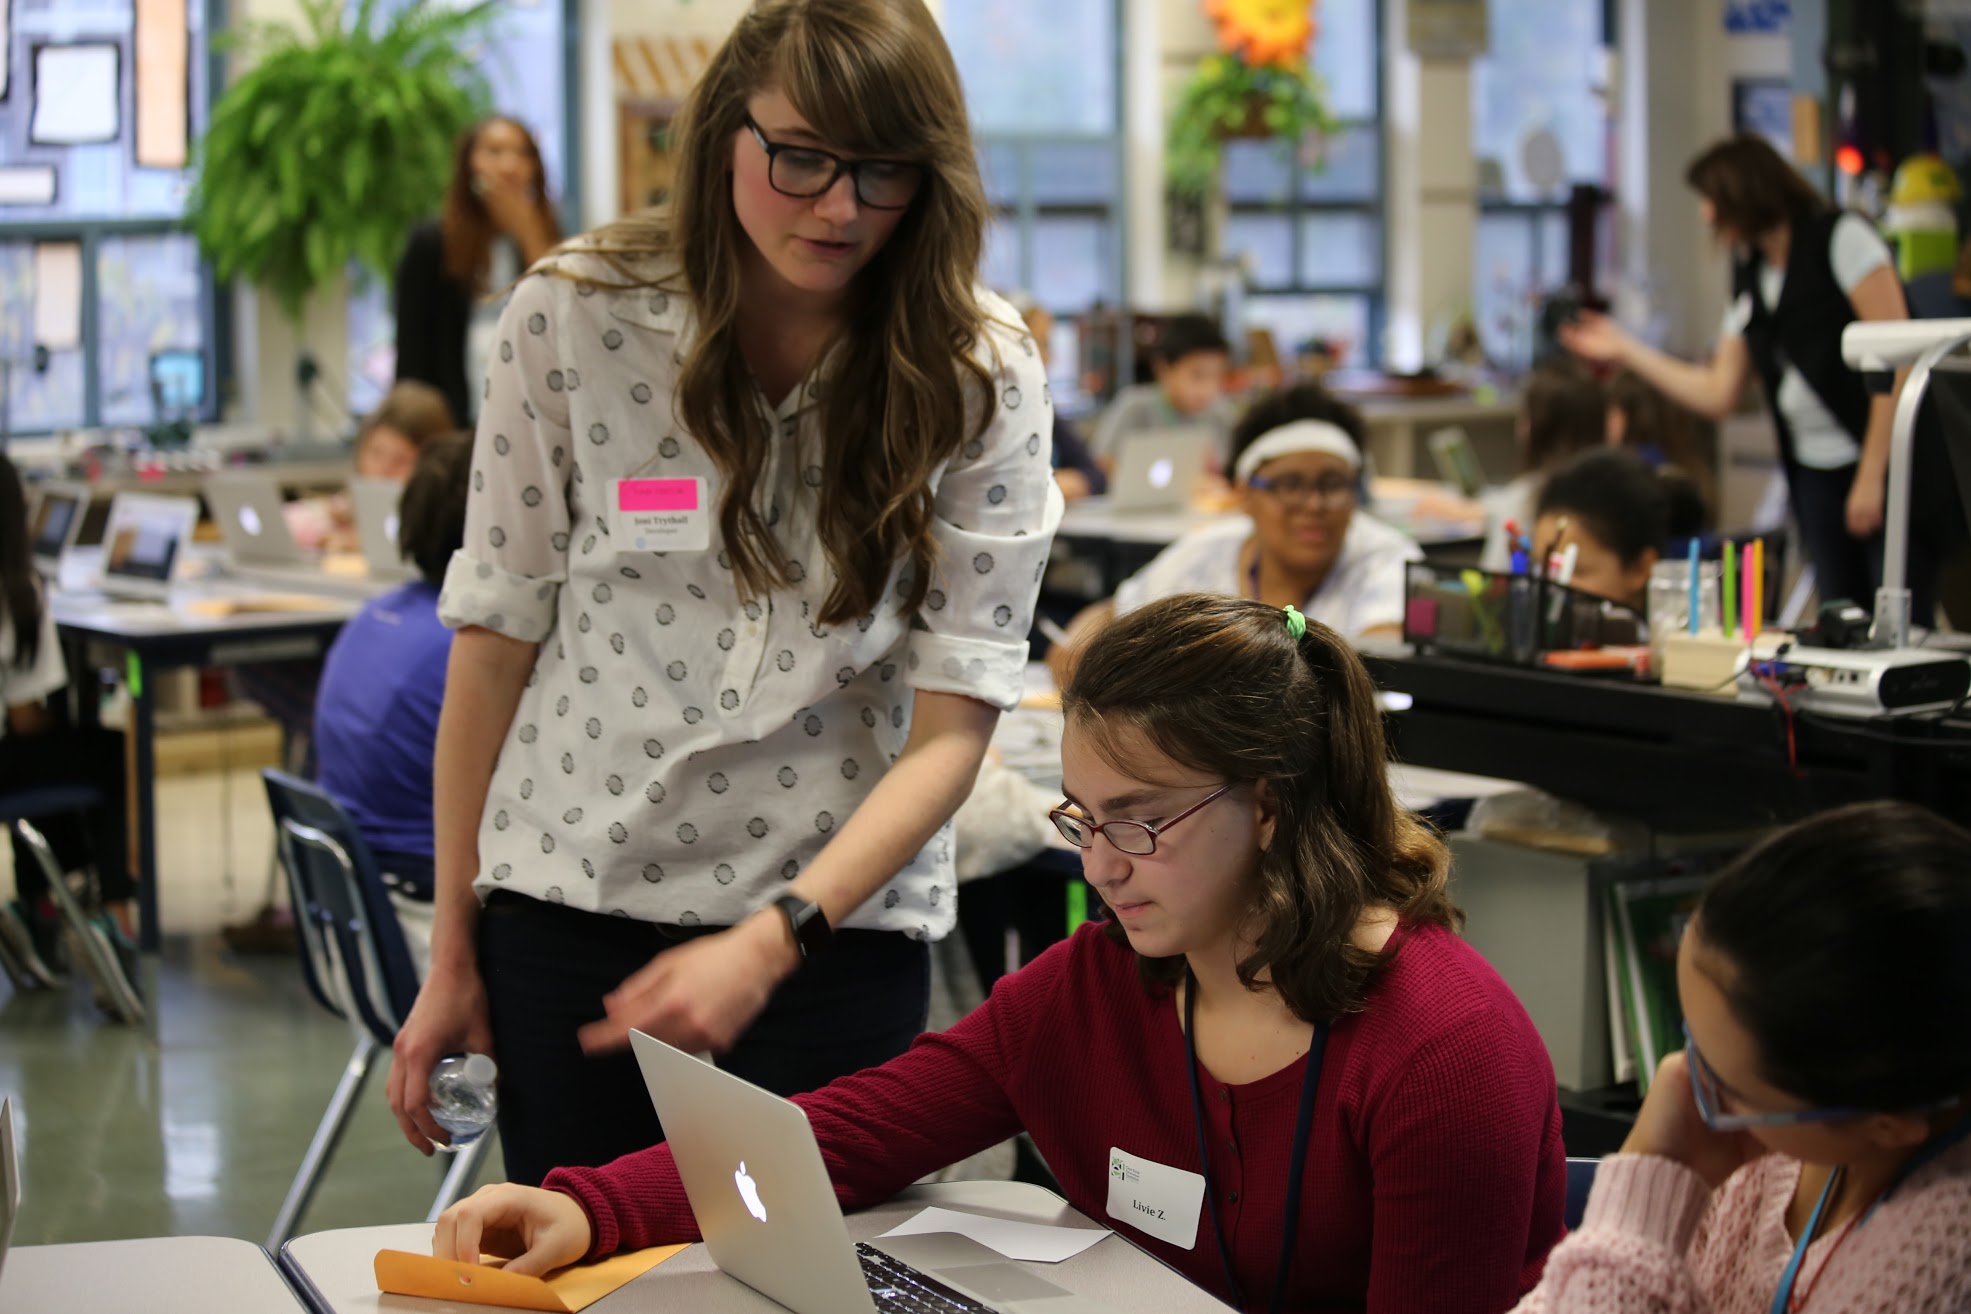
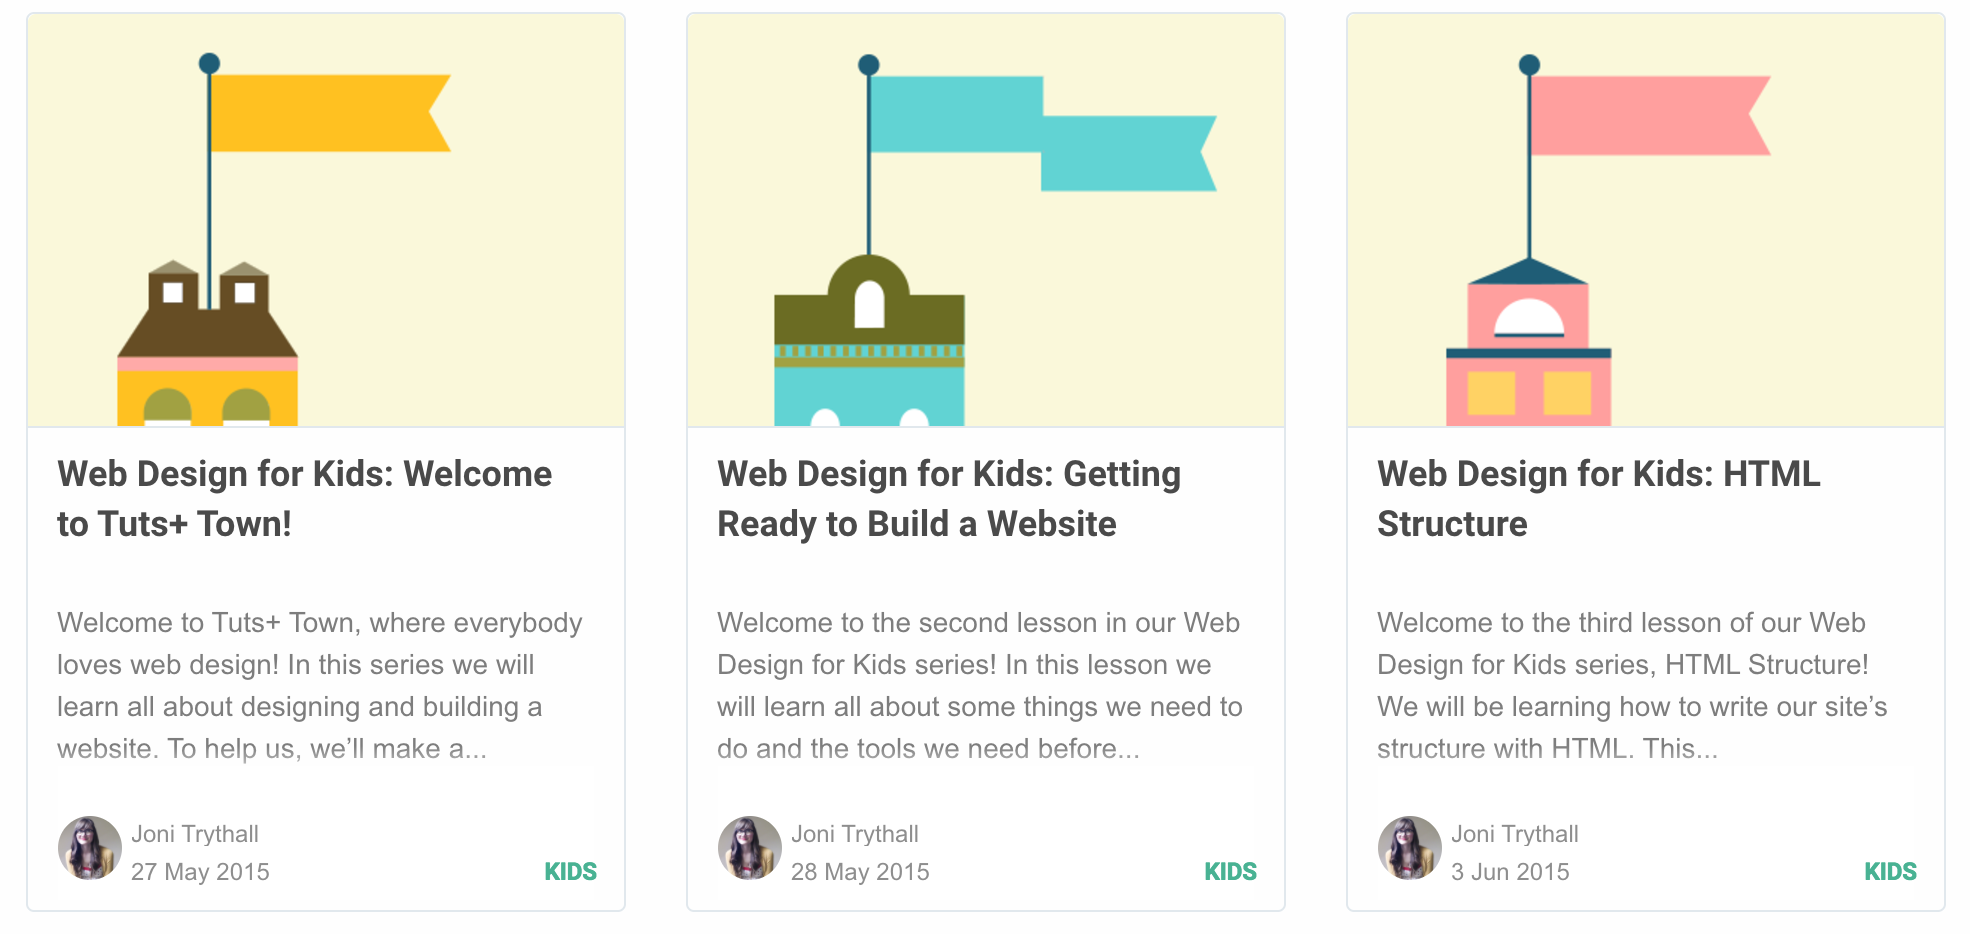
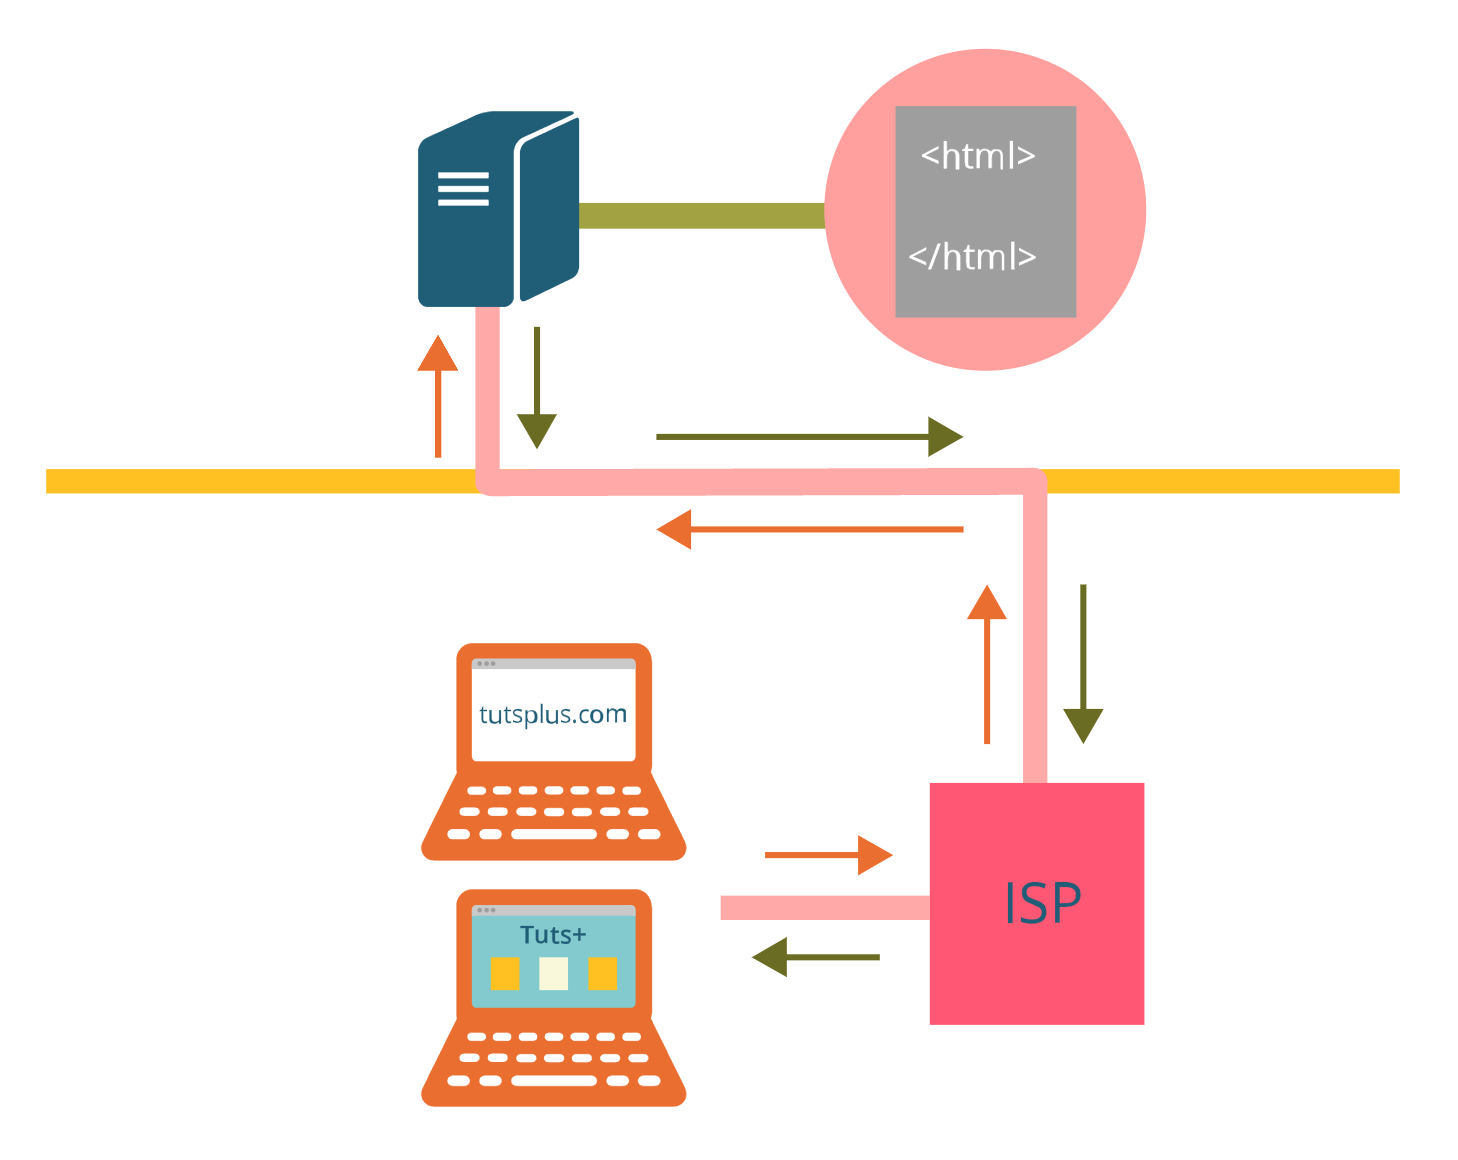
This workshop is based on a web design for kids series I created last year for Tuts+ called Tuts+ Town. After a brief introduction on how the web and files work it walks students through the basics of creating their own website with HTML and CSS through a highly visual presentation and demos.
The full curriculum on Tuts+ covers layout, typography, color theory, content, whitespace, and visual hierarchy as well which serves as a great resource to point students to for further learning.
If you have never created materials for kids before and not sure where to start I wrote a bit about that last year as well.
There are a lot of changes that have to happen to make this work within a condensed timeframe, with the main one being that CodePen is used and eliminates the folder/file structure section (so internet is now required).
The catch, however, is that all students will have to have a CodePen account prior to the workshop. I recently tried having all students log in to the same account that I created specifically for the class and cannot recommend this approach at all. The tl;dr version of how this played out is that there were major sign in issues and the live preview never loaded for anyone.
The tricky part is that they will need an email address but I have found that kids this age usually have a school email, so just double check with the teacher that this setup would be appropriate.
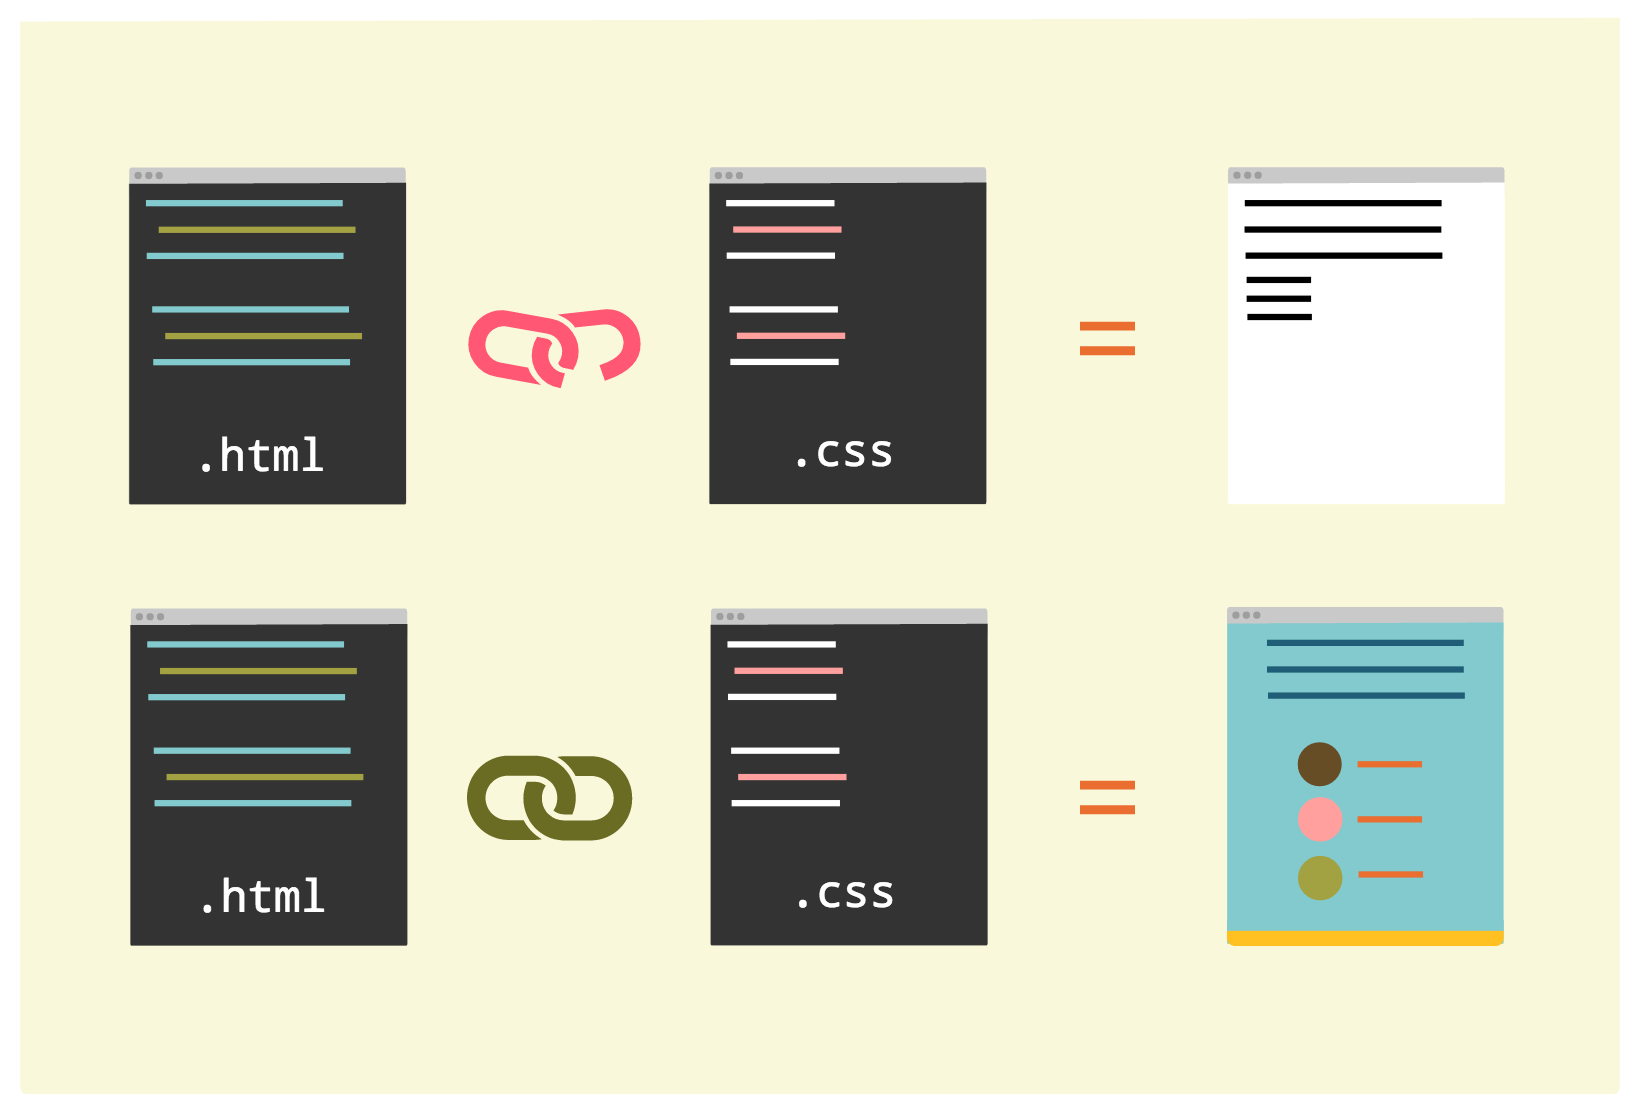
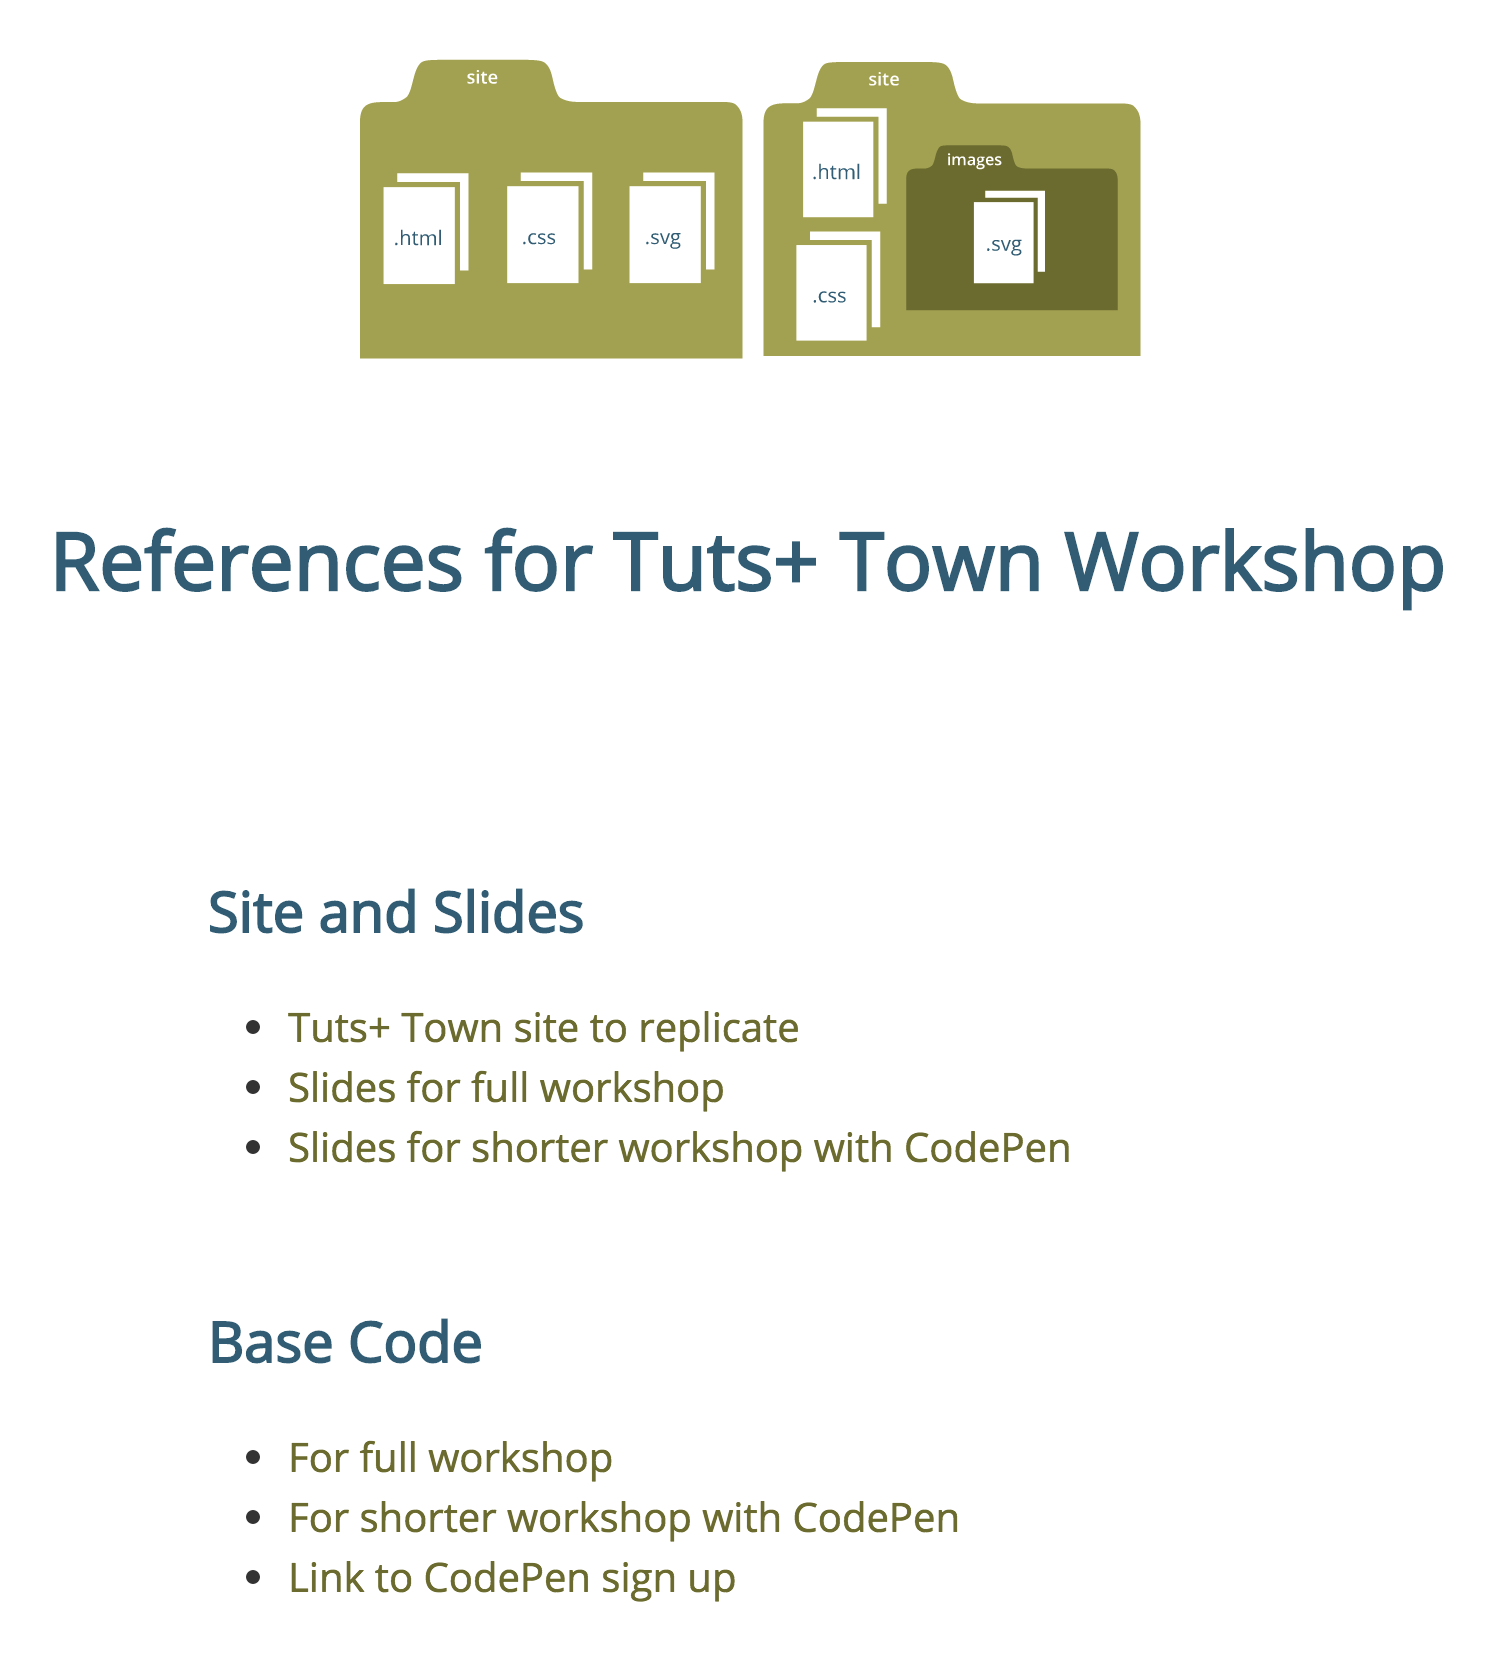
While understanding proper folder and file structure is of course crucial eventually the most important part of this initial, mini workshop is getting the students to a point where they can do something and see the results on the screen as quickly as possible. Just be sure to add a resource to your reference site (which I will talk a bit more about soon) that explains this process in more detail; like the second post of the Tuts+ Town series.
I wish I had something profound to say about the difference between teaching kids versus adults but the truth is I haven’t noticed many, so here is my general advice for conducting workshops for students of all ages:
There are truly few things as delightful as showing a child something that’s moving across the screen and letting them know they can absolutely learn how to make this happen with some basic, foundational web design knowledge.
See the Pen Weird Circle Loader by Joni Trythall (@jonitrythall) on CodePen.
Web design and development is an amazing artistic outlet and presenting it exclusively within the context of traditional website may make it challenging to make this connection. This approach helps show the potential of this space and speaks to the fact that there are so many different avenues you can take once you learn some foundational bits.
This is hard stuff. It’s one thing to tell someone how the internet works, for example, and quite another to show them. Always show students what you are talking about.
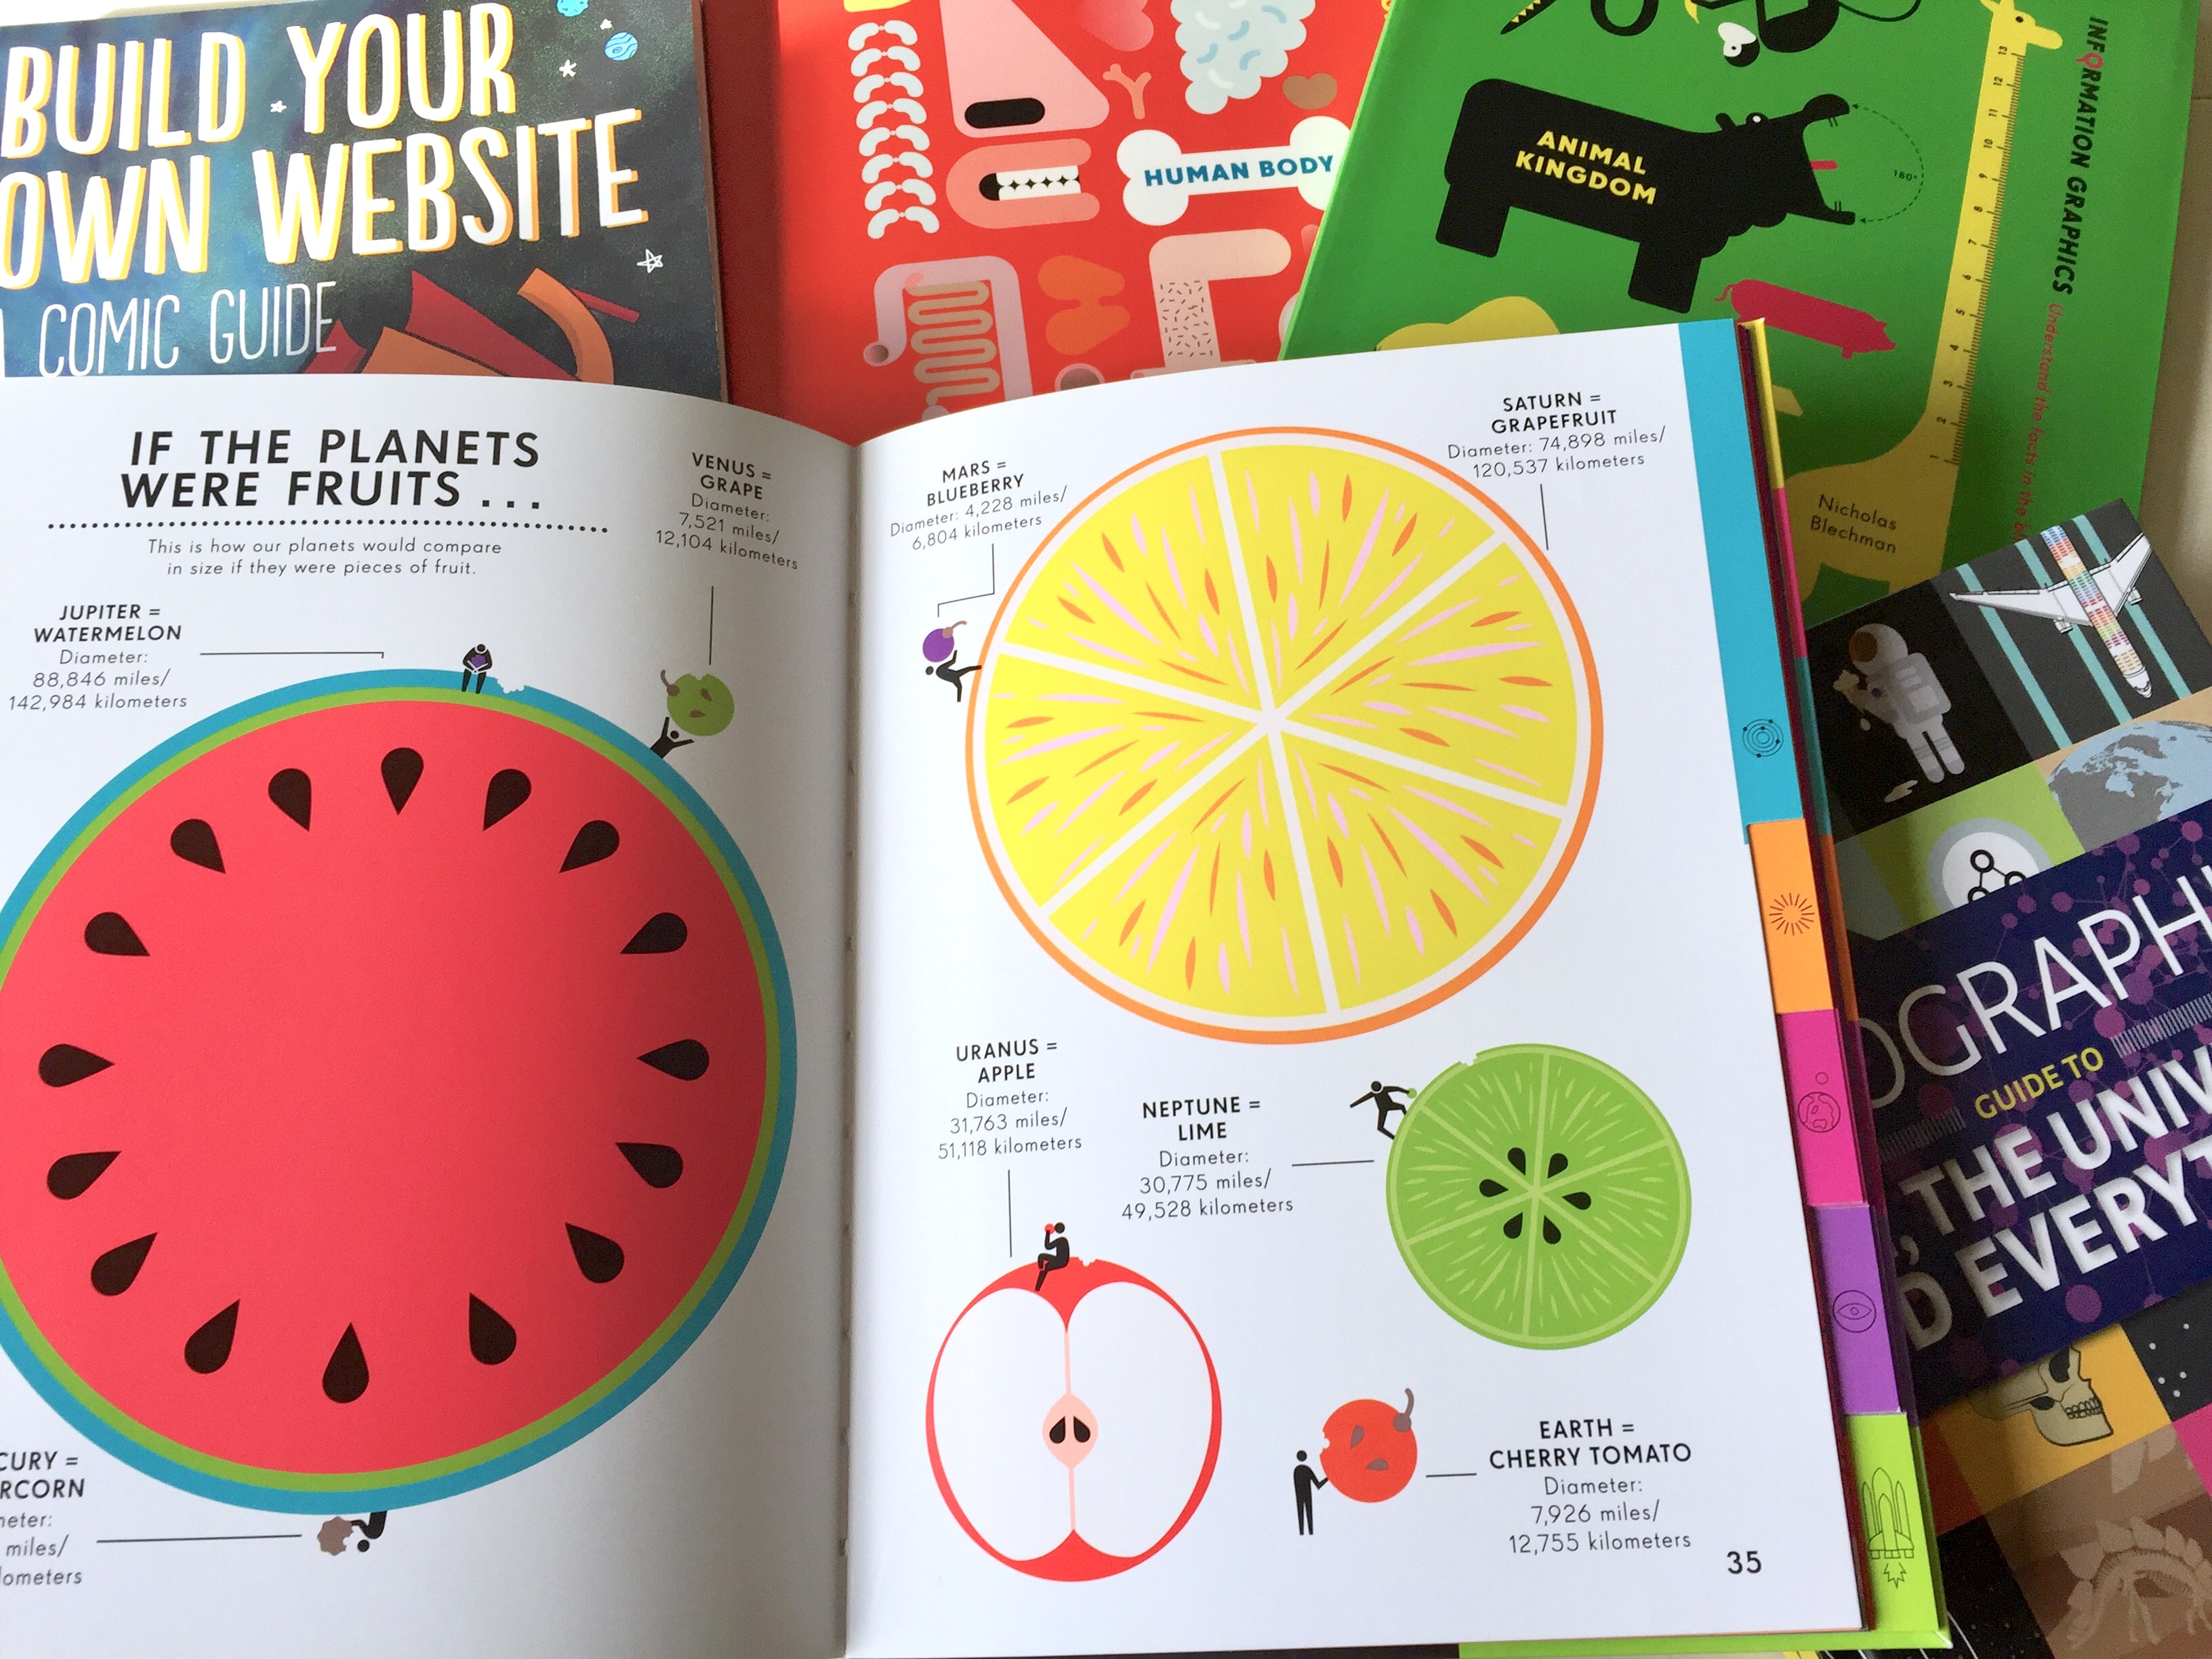
The best way to get comfortable with how to approach this is by looking through some infographics or comic based coding books. Here are the books I referenced when creating Tuts+ Town and can recommend:
The sooner students can make an impact and view changes on a screen the better. There is always time to go back and thoroughly learn about file structure, for example, but it’s important to get them excited enough initially to want to bother with learning those potentially not so glamorous details. Having base code ready to build from makes this all possible.
Always work closely with teachers or students to make sure their computers are ready for the workshop, which will save a bunch of time and frustration for everyone the day of the workshop.
Some things to consider:
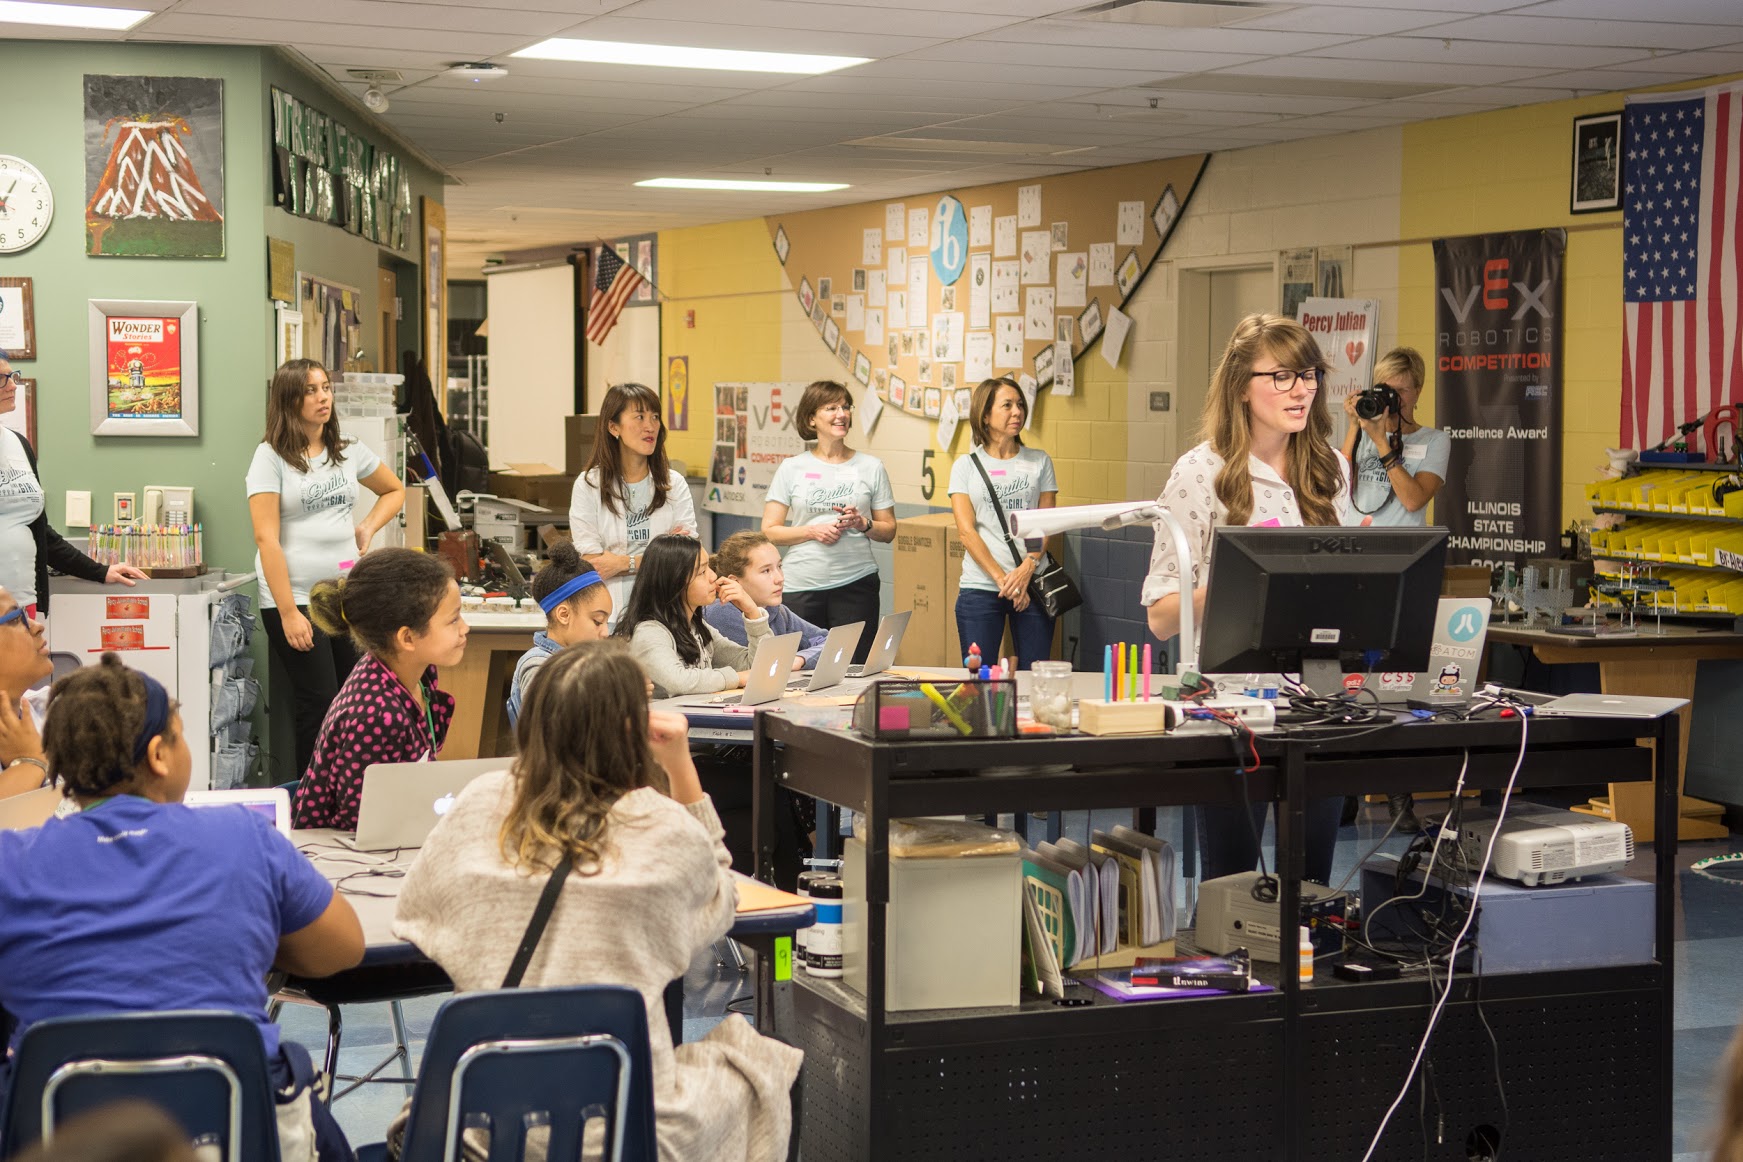
While I always suggest having TAs in any workshop you will likely need 2-3 times more with kids depending on the size of the class. I have recruited TAs through work, through the school or organization I am conducting the workshop for, and by asking local friends or acquaintances.
I can’t recommend ever conducting any sizable workshop without access to TAs. The entire experience will be in jeopardy as students will fall behind as you try to keep to a schedule because their questions will go unanswered. It’s important to make sure all students are ready before progressing to the next portion of a curriculum and this will become impossible without TAs.
Send all materials to TAs before the class and put together a physical cheatsheet for the day of the workshop with a list of relevant links and sign in information. Also, don’t forget to send along a thank you email or postcard after!
Be sure to let students know where they can go from the workshop. You are with them for a very short amount of time and presenting them with an enormous amount of complex information. Having a place to go after the workshop to take another look at slides and have some direction on where to go next is hugely reassuring. I also include my contact information for questions.
It is easy to potentially overthink this but strongly fight the urge or you may find the task too burdensome to complete. This should be a very simple page with some headings and links to:
Everyone loves stickers. Huge bonus points for cute animal characters.
I bring stickers and buttons to every event I go to and workshops are no exception. They get people excited and talking and allows them to leave with something fun to show others; it really adds to the overall experience.
Something to also think about: cookies
I hope these materials, notes, and general workshop advice prove helpful for anyone not quite sure where to start. Feel free to fork these materials and customize them to suite your scenario.
Best of luck and I’d love to hear about any especially fun or interesting workshop tips you many have yourself on Twitter.